As a new father, I’ve found it’s difficult to convince my little bundle of noise to go to sleep at night. A common method of convincing a baby to sleep is to provide ‘white noise,’ either through the use of an expensive specialist baby-soother or by detuning a radio. Alternatively, there’s the Sleepduino.
Because I value my sleep more than I value my free time, I spent an afternoon designing and coding an combination white noise generator and nightlight for Alice’s nursery. Thankfully, I had the components I needed lying around: an Arduino with breadboard, three RGB LEDs, three tactile buttons, a piezoelectric buzzer and a potentiometer. Plus a whole mess of wiring.
The buttons control the LEDs: each LED has its own button, which cycles it through seven different colours before turning it off. Press the button again, and it’ll switch on again. The pot controls the volume of the buzzer, which exists to vocalise the output of a pseudorandom bit-shift register to generate a pleasing ‘static’ sound.
Set the LEDs to provide whatever level and colour of nightlight you think your baby – or, indeed, you – would prefer, adjust the volume of the white noise (apparently, it should be around the same volume as being in the same room as someone taking a shower) and cross your fingers that you’re going to enjoy the best night of sleep you’ve ever had.
It’s only the second proper night of using it, but it seems to be working: Alice had the best night’s sleep she’s ever had last night, and she’s been settled for a good couple of hours now without issue.
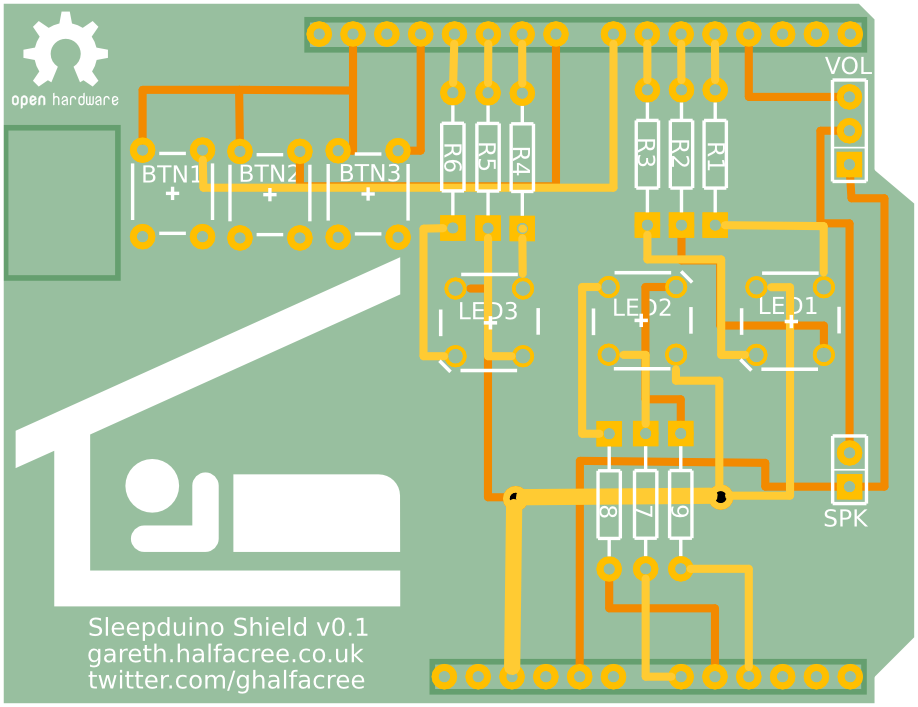
I’ve designed a printed circuit board version of the Sleepduino which plugs into the top of the Arduino without all the distracting and easily-knocked wiring. I’m making an initial prototype, which will arrive from the fab towards the end of the month. If it works, I’ll be opening the floor for anyone who wants to buy one.
Be aware, however: this is an Open Hardware project. I’m making the source code (most of which is appropriated from other projects anyway), schematics and PCB layout available under a Creative Commons Attribution-NonCommercial-ShareAlike licence, meaning you don’t have to buy one from me. If you’d rather, you can just grab the files and make one yourself. I won’t stop you. Hell, I’m actively encouraging it.
The pre-built shields will be for people who don’t fancy building one themselves, and I’ll probably also make them available with Arduino clones underneath so they’re literally ready to go out of the box.
Hopefully you guys will find them as useful as I’ve found the prototype version.

 Just a brief post to alert RSS subscribers that my how-to Arduino article is now live over on bit-tech.net.